


How to Make Your Own Eco Rainmaker Instrument
Time for a Jamboree! Homemade Rainmakers
Come join our Jamboree. Learn how to make your own homemade rainmakers from left over craft materials. They are fun to make, can be decorated in lots of different ways & great for running around with.

Materials needed to make 1 Rainmaker *
1. Cardboard tube
2. Scissors
3. Rubber bands x 2
4. Brown paper circles, about 15cm x 2
5. Rice, dried beans or small dried pasta like macaroni
6. Pipe cleaners (2cm by 15cm strips of scrunched up cardboard will also work)
7. Decoration materials: We used colourful tape & 40cm strips of left over fabric for ribbons but you could use paint or any other craft materials you have to hand.
Or you can download and print our stickers!

...

Directions:
Stage One
1. Decorate your cardboard tubes. We used colourful tape which we wrapped round the middle to create a rainbow effect, but you could easily paint the tubes or get little helpers to decorate with felt-tip pens, stickers or anything that takes their fancy.
2. Secure the bottom of your tube with a disk of brown paper and a rubber band over the top.
Stage Two
1. If you have any little helps this is a good stage to get them involved. Fill your rainmaker with crunched up pipe cleaners, we used about 5 in each tube.
2. Add your 'rain'. We used rice and dried macaroni but you could also used dried beans for a different kind of sound.
3. Secure the top of the tube with your second disk of brown paper and rubber band.
4. Finish off by wrapping & tying strips of left over fabric around the top and bottom of your rainmaker, making sure you have enough to trail at the ends making colourful tassels.
Stage Three
1. Now you have your rainmakers its time to begin your very own Jamboree. Add a drum, tambourine and you have your very own band!
Want to find more fun activities you can do with the kids? Check out our other lovely family activity ideas


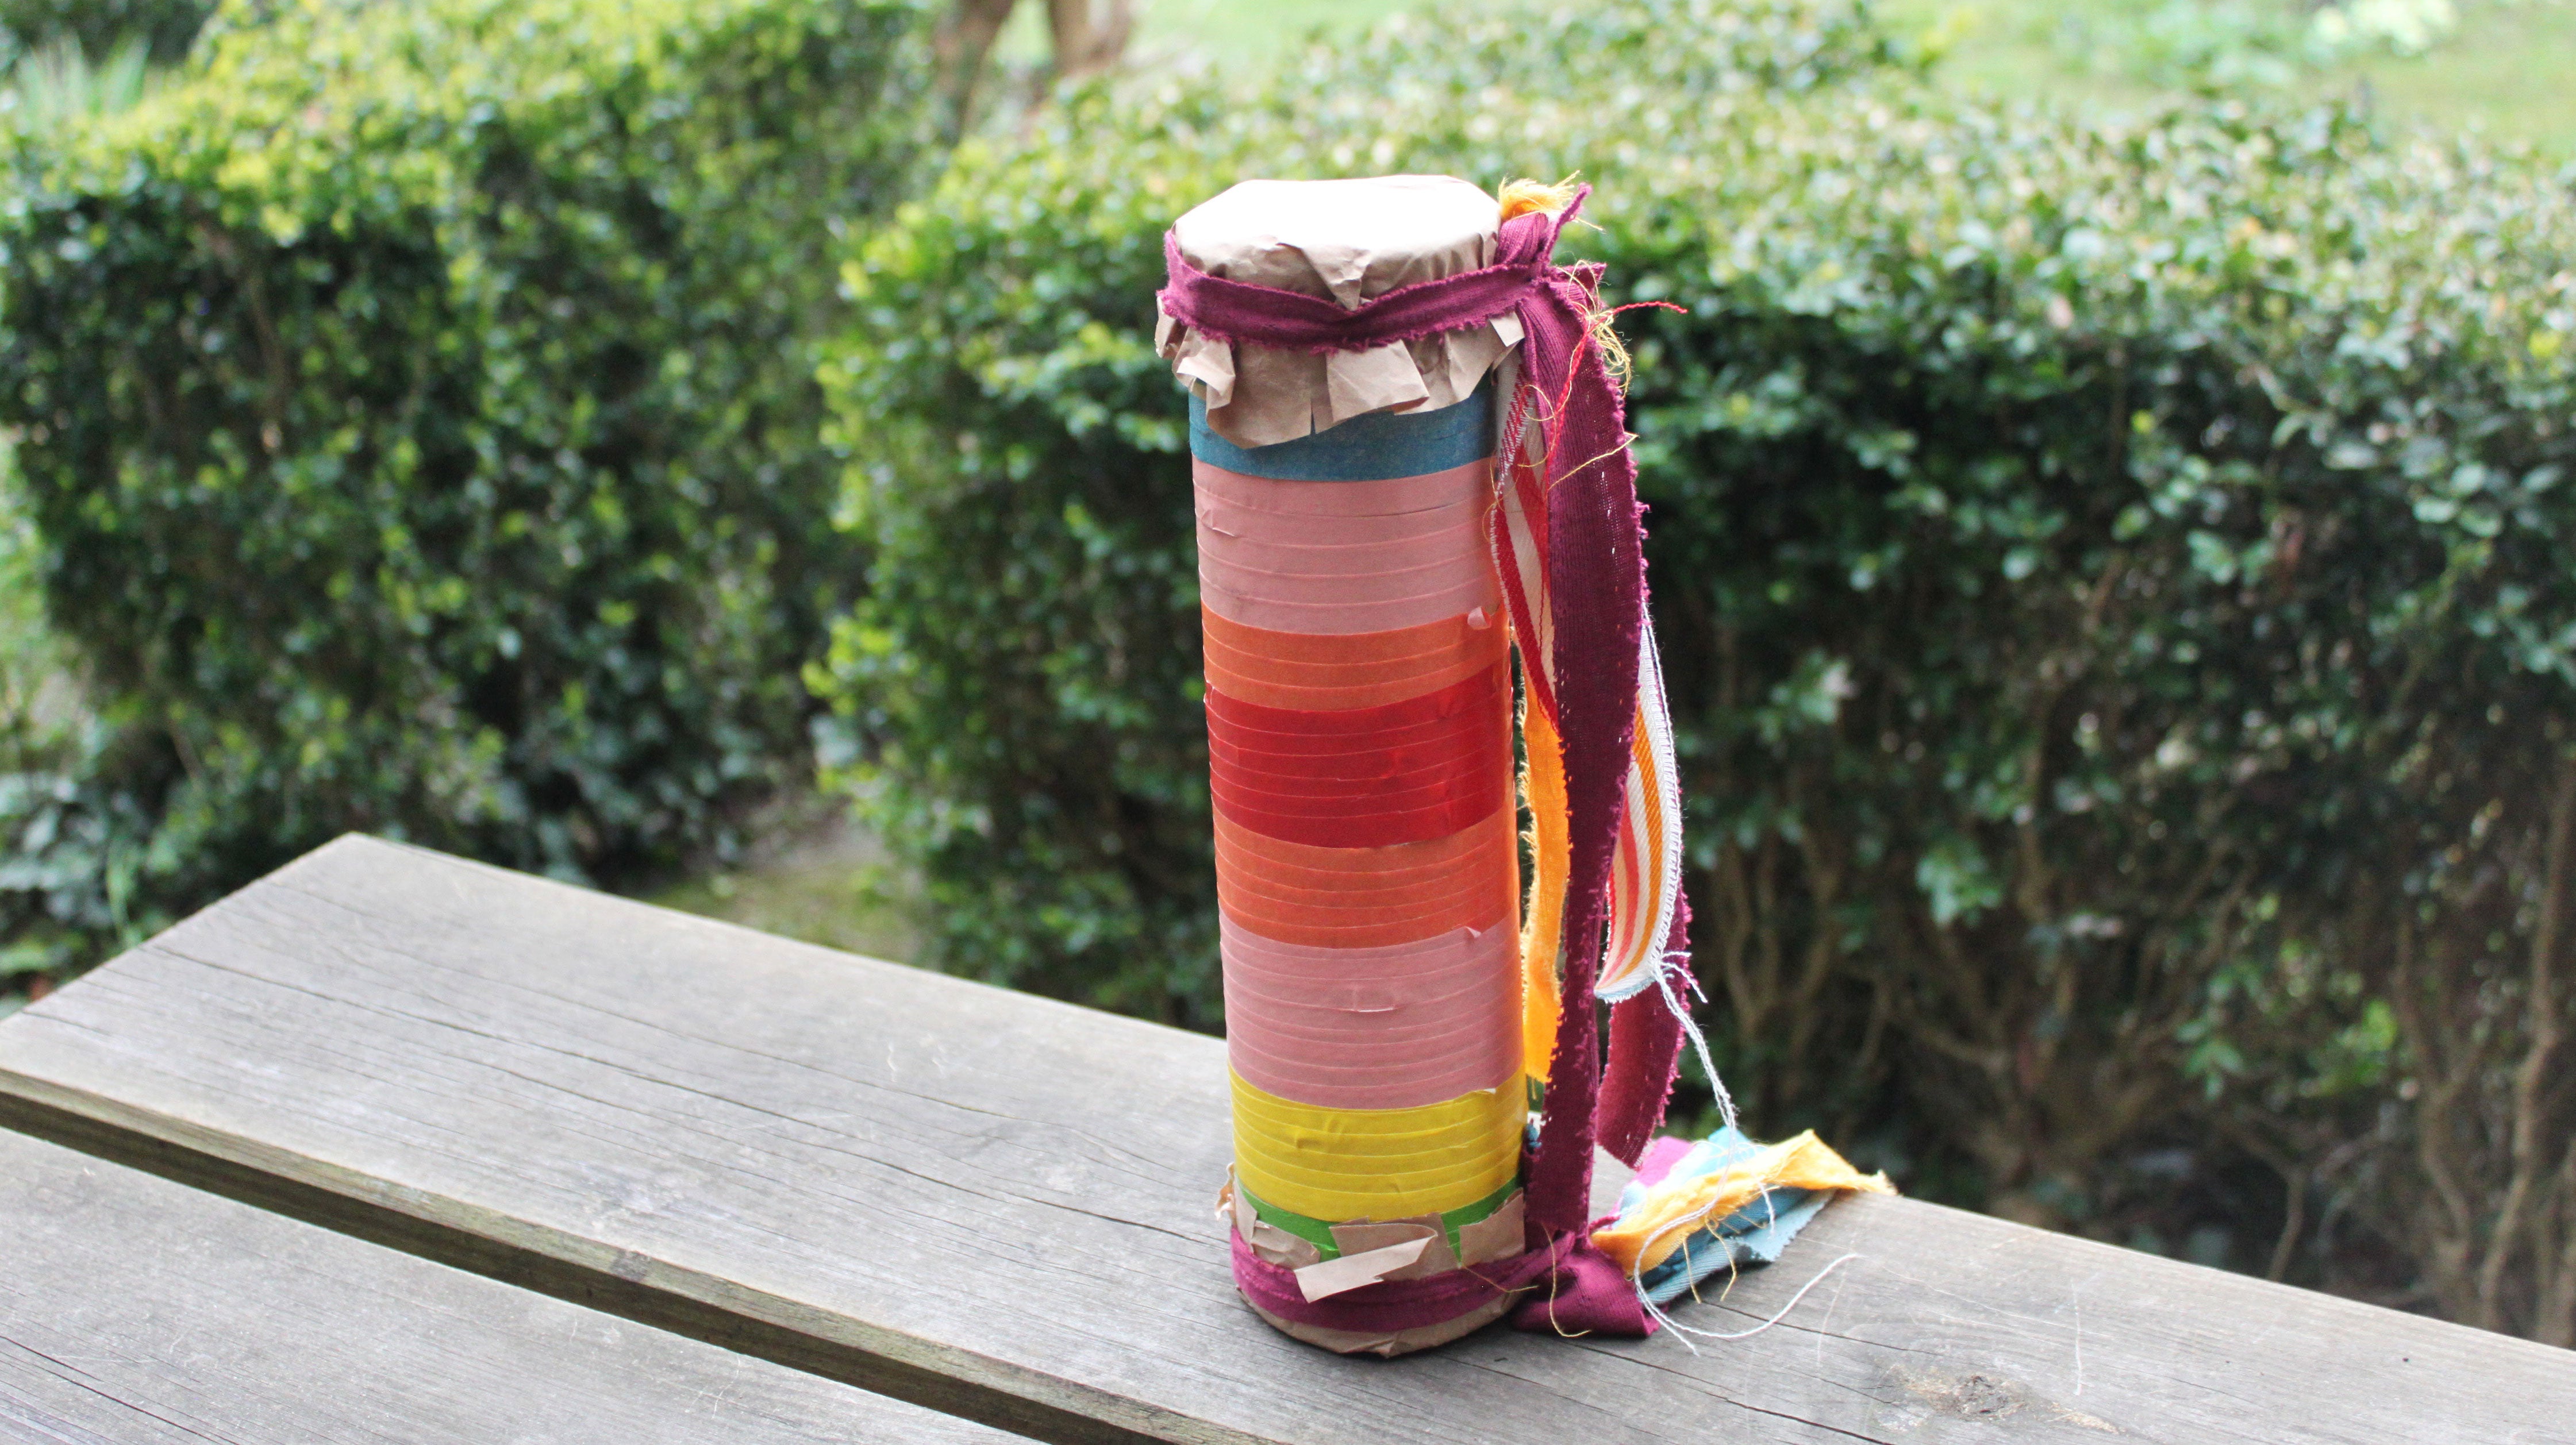
Colourful fabric ties make these more fun to run around with.


Time to start your own Jamboree

Shaker Shaker! Show us your creations #littlegreenradicals
*Thank you to Buggyandbuddy for this wonderful craft idea.


